How to Set up Product Photography Lighting
Product photography is about more than getting a decent picture. The goal is to get the right objectives for taking these photos. Lighting is crucial in product photography as it can dramatically affect the clarity, mood and overall product presentation.
Three crucial components of a lighting setup for product photography are a light source, a reflector and often a diffuser to even out illumination.
It is essential that photographers understand and master lighting equipment to achieve their desired creative vision and produce high-quality images. There are endless ways in which you can position lighting for various effects. Which of these techniques you use depends on the artistic outcome that you are after. There is also the option of lighting automation, which will shorten the time you spend on setup and the time you spend to get your photos ready for publishing.
Types of Lighting
The best product photography lighting depends on the type of product you are photographing, the location and the photography gadgets you have on hand. Generally, your choice of lighting source will be between natural and studio lights. There are, however, various adjustments you can make. Each of these offers different advantages and suitability for an array of products, outcomes and shooting environments. These lights and adjustments include:
- Natural light: Natural lighting uses sunlight to illuminate products. Shooting near a window or using sheer curtains can soften harsh sunlight for soft, diffused natural light. It is ideal for showcasing products like skincare items, food and clothing with natural colors and textures.
- Lightboxes: A light tent or lightbox is an enclosure with diffused walls that softens and evenly distributes light. The result is a clean, professional look. As this minimizes harsh shadows and reflections, it is ideal for small to medium-product photography like jewelry, cosmetics or electronics.
- Continuous lighting: Providing consistency in illumination, continuous lighting makes it easier to see the effects of light in real-time. It uses constant light sources like fluorescent bulbs or light-emitting diode (LED) panels for easy light intensity and direction adjustments. This type of lighting is suitable for beginners and product photographers who use a slow shutter speed.
- Studio lights: Studio light and flash lighting use bursts of bright light to illuminate products to capture intricate details or freezing motion. You will need extra equipment, including triggers, strobe lights and light modifiers like softboxes or umbrellas. Professional product photographers use this type of lighting as it is versatile and can facilitate dynamic lighting setups.
- Light painting: Using handheld light sources like LED wands or flashlights, photographers can manually “paint” light onto products. It gives you precise control over light intensity and placement, making it helpful in highlighting specific areas on products. You can also use this technique to create dramatic lighting effects on reflective or transparent products.
- Reflectors and diffusers: You can manipulate and control the light's quality using diffusers and reflectors in conjunction with other light sources. Reflectors bounce light back onto products, filling in shadows and adding highlights. Diffusers soften harsh light to create flattering and even illumination.
Lighting Equipment for Product Photography
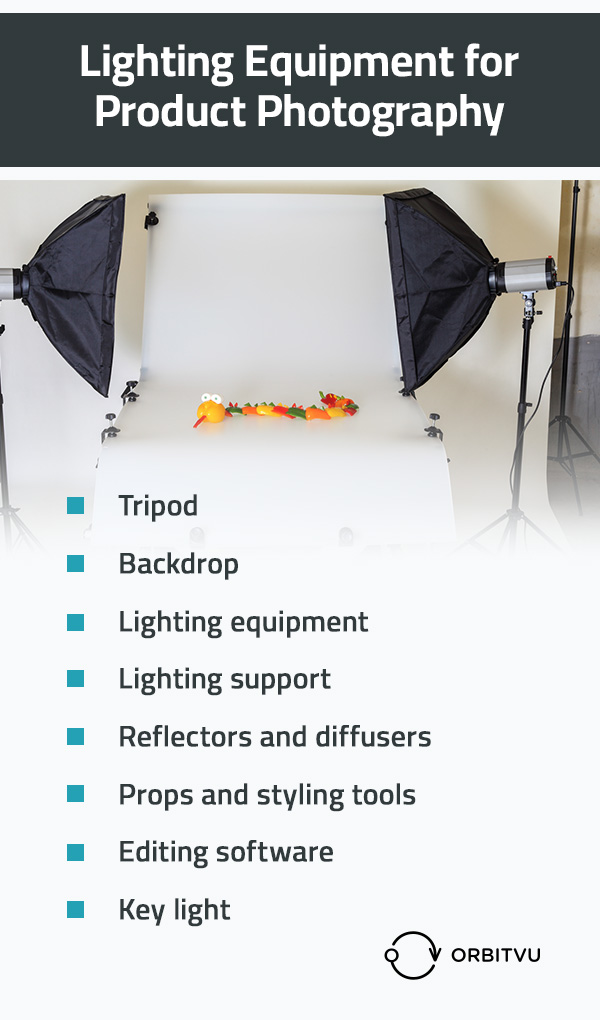
Lighting equipment lets photographers control lighting direction, intensity and quality to get the right shots. Equipment you will need to support your lighting setup includes modifiers, light stands, control accessories, background support systems and power sources. If you are setting up a product photography session in a studio, get the following equipment:
- Tripod: Stabilize your camera with a sturdy tripod. It will help you keep framing and composition consistent — ideally, a tripod with adjustable legs that will support your camera's weight.
- Backdrop: The use of a backdrop depends on your artistic vision, but it offers a distraction-free product background. Popular options include neutral colors, seamless paper rolls, muslin cloth, wood or marble.
- Lighting equipment: You can use strobe lights, continuous lights or a combination of both. Include essential lighting modifiers and diffusers to control light direction and quality.
- Lighting support: Get adjustable lighting support equipment like light stands, background support systems and boom arms.
- Reflectors and diffusers: Whether you need to bounce light back onto the product to fill shadows or soften harsh light, these accessories help to get the ideal lighting effects.
- Props and styling tools: Common props include fabric, textured surfaces and product stands that can add context or scale to the scene.
- Editing software: Post-production software that helps you process and refine your product images. You can use this to adjust colors, contrast and exposure to create a better balance between realism and enhancing the product's appearance.
- Key light: The primary light source that illuminates your subject, it will sit just to the left or right of your camera, defining the product's shape and texture. Often, the key light will have a fill light nearby, which reduces some of the harsher shadows, softening the contrast and adding details to shadow areas. It is set at a lower intensity than the key light, as its goal is to support rather than overpower.
Understanding Lighting Position
Product photography can ensure sales, as 70% of consumers will buy products with decent, reliable photography. The way that you position lights can add more of a three-dimensional look to the products you are photographing. With the right placement, you can highlight product features and add the right atmosphere or mood to the entire shoot.
The central lighting positions you will use include side, back and front lighting, but you can add many more angles and combinations of these to your setup. One example is an accent light, which highlights product details, like logos and textures. It will sit at a higher angle than your other light sources, directing right at the area you want the light to accent.
Side Lighting
Placing the lighting sources at a 90-degree angle from the camera gives you side lighting. It creates strong shadows on the sides of the product to emphasize depth and texture for drama or more dynamic visuals. Products like fabrics, jewelry or sculptures with intricate details or textures benefit the most from intense side lighting.
Back Lighting
When you position a light source behind the product, facing the camera, you create a halo effect around the product's edges. The luminous glow that follows separates the product from the background. Backlighting or rim lighting creates depth by highlighting the edges of the product. But it can also add transparency to products with reflective or translucent surfaces, like glasses. You can use this lighting position to highlight a product's outline or silhouette to make it stand out against the background.
Front Lighting
Positioning a light source in front of the product, facing the camera evenly, illuminates the product's whole surface, minimizing shadows and offering maximum visibility of its details. This technique showcases colors, features and shapes with intense accuracy and clarity. E-commerce images that display products in a minimalist, straightforward manner will often use this lighting technique.
Tips to Set up Product Photography Lighting
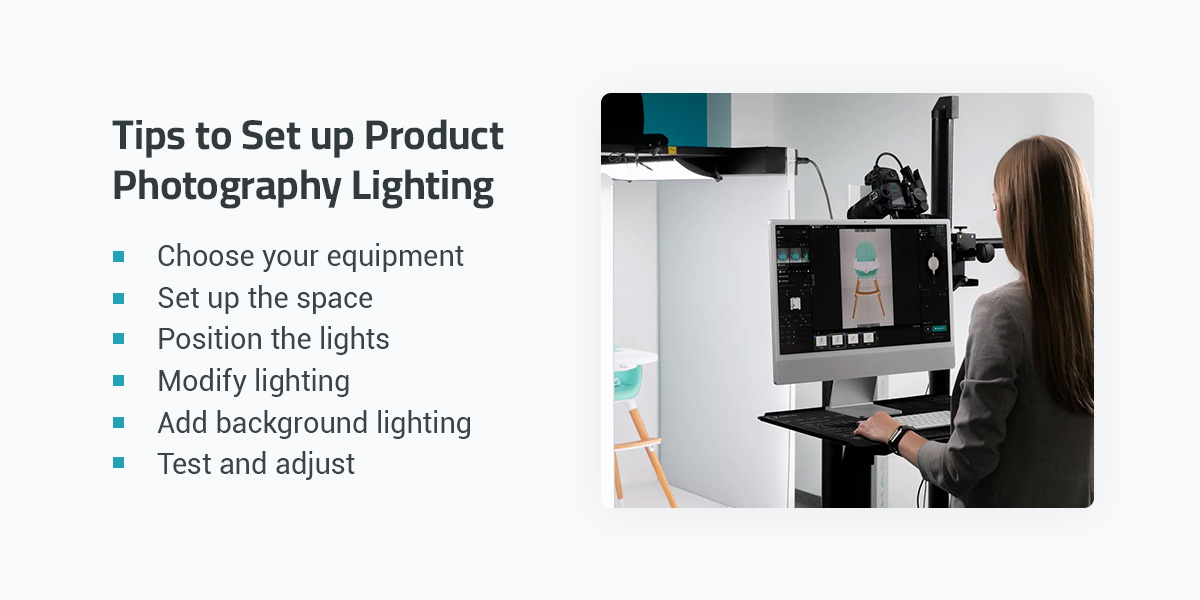
Remember to focus on more than optimal illumination while preparing for a product photography session. It is important to take test shots and make adjustments before you start and on the go. Follow these steps to set up your next photoshoot:
- Choose your equipment: Depending on your shooting environment, decide whether to use continuous lights or strobe lights. Add the right light modifiers, like reflectors, softboxes or umbrellas, to control how the light falls on your subject.
- Set up the space: Choose your background and set it up in a well-lit area with ample space for your equipment and for you to move around comfortably.
- Position the lights: Put your key light, the primary light source, at a 45-degree angle to the product. This angle creates the dimension you want and adds depth to your subject. You can add fill or accent lights to take away additional shadows, create an ambiance and highlight specific features.
- Modify lighting: Use light modifiers for more flattering illumination and to fill in shadows. Control the spread of light with snoots, barn doors or grids. You can also add a light meter to ensure proper exposure on your subject.
- Add background lighting: Add additional lights or modifiers if you are using a background. It can add depth to the scene and create a cleaner, more consistent scene.
- Test and adjust: Take some test shots and review them on a computer monitor to properly evaluate the lighting setup. Pay close attention to shadow positioning reflections and highlights. These variables will let you know where to fine-tune placement, modifiers and lights.
Fine-Tuning Your Setup
Adjusting your setup may include moving lights around, switching the angle or increasing the lights' height. Moving the reflector changes the angle at which light bounces back onto the product. So start with the reflector facing your light source directly and then play around with the position until you find the right aesthetic.
When you are happy with your lighting setup, double-check your camera settings to get the best quality images. These settings will include shutter speed, ISO and aperture, which will ensure optimal image quality. Test your setting by taking multiple shots from different angles and make minor adjustments to your lighting and composition as you need to.
Basic Product Photography Setup Idea
For small to medium-sized products, set up a table with a shiny white acrylic plate in your studio. The reflective surface gives extra light reflection from the bottom. Put a similar plate vertically behind the product, backlighting it with a softbox for even background lighting. Add another, larger light above the product for general illumination that lowers the contrast of your photos, whether you are photographing a shiny, dark or white product.
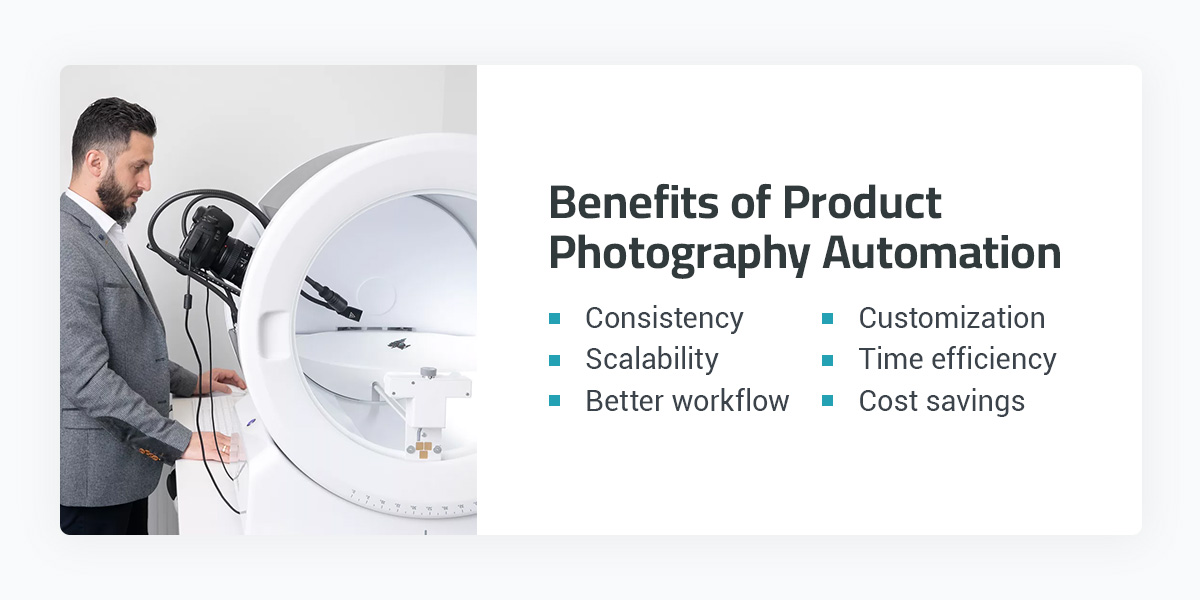
Benefits of Product Photography Automation
In product photography, especially for e-commerce purposes, shoppers want to see all product angles, essentially mimicking holding the product in their hands. When you have a solution that combines image capture with light control and post-production as a bonus, you have a streamlined way of creating product photography. Some lighting benefits to look forward to when you use automation software include:
- Consistency: Automation will ensure that your lighting conditions are consistent across multiple shots. This helps you maintain brand identity and adds professionalism to your images.
- Scalability: Automation can help you scale your operations to meet a demand increase. You can capture a higher image volume or expand into new categories with automated lighting setups without sacrificing efficiency or quality.
- Better workflow: Integrating automation will streamline the process from image capture to post-production, lowering the risk of errors. Automated lighting systems can synchronize with your camera settings to streamline the transition between shooting and editing. This helps you deliver photos faster.
- Customization: These lighting systems offer high flexibility and customization options. You can adjust all the parameters you need to, like color temperatures, intensity and lighting angle. This helps you get a unique look for each product while saving time.
- Time efficiency: With automation, you spend less time capturing each product image as setting up the lighting parameters is simple and easy. You can rely on software to help with post-production lighting adjustments and focus your creativity on other aspects of the shoot in the meantime.
- Cost savings: In the long run, automated software and photography setups can reduce the need for manual adjustments, lower production costs and deliver better-quality photos in a shorter amount of time.
Automated Studio Product Photography Lighting
You can opt for the best of both worlds with automated photography solutions. With the Obitvu Product Photography Systems, you get LED continuous light with a CRI 98 rating and temperature of 5500K. You essentially get a controllable natural lighting setup with consistent color accuracy. This takes away the pressure of playing around with lights, giving you a streamlined process with more time to be creative. Orbitvu offers solutions for:
- Still product photography: The Alphastudio Compact lets you choose camera and lighting angles and then the software captures over 500 photos for e-commerce, electronics, fashion or hardware products.
- 3D or 360° photography: Getting photos of products from various angles can be a long-winded process unless you have a product photography lighting kit that helps you take 360-degree product photos in 90 seconds. 360 Spins can also help to create stand-out product videos, providing you have the right kind of lighting.
- Flat lay photography: Speed up workflow and capture 150 an hour with Alphatable or Alphydesk. It integrates camera and lighting to optimize images for clear, beautiful results with fashion photography.
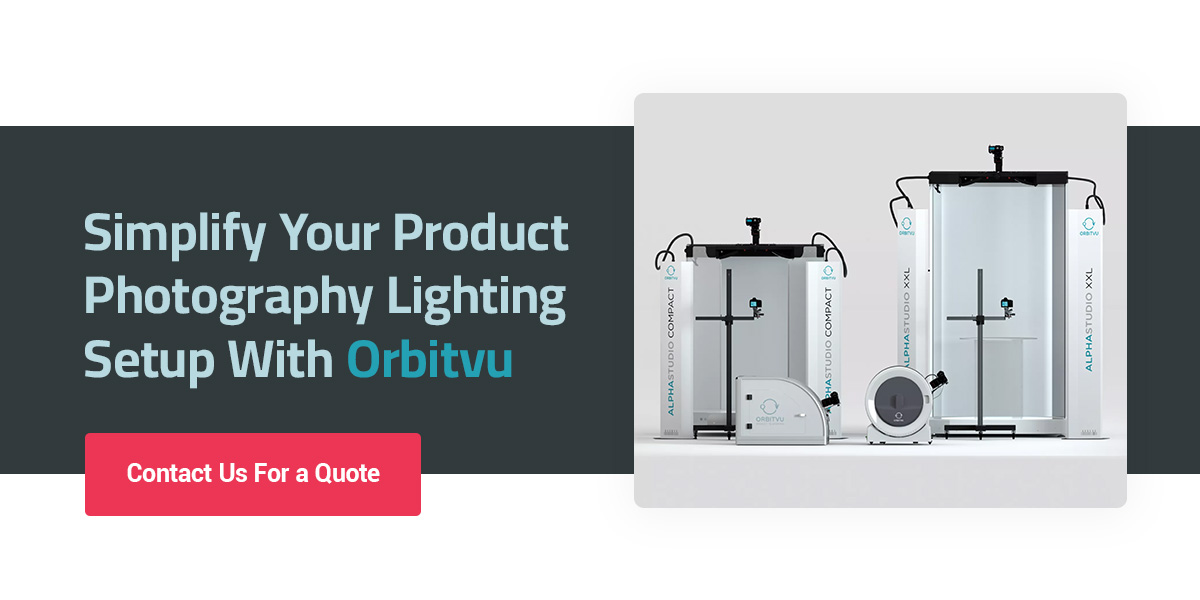
Simplify Your Product Photography Lighting Setup With Orbitvu
Experimenting with lighting setups and techniques can help you get the perfect look for your product photography. Play around with lighting angles and distances with intensity adjustments. The key is to practice and exercise patience or to find an automated photography product that helps to improve the caliber of your images.
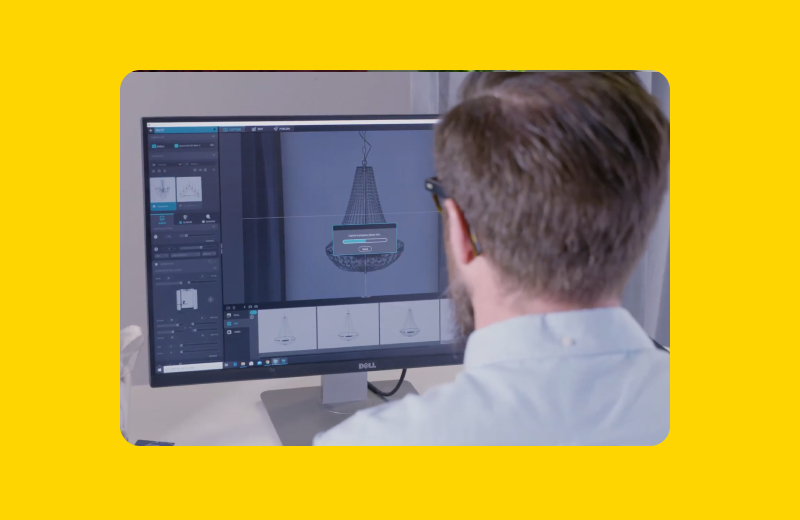
We offer comprehensive photography solutions, which include powerful software. Orbitvu Station is an e-commerce photo editing software with hardware integration. It automatically helps with background removal, does the image post-production and helps you publish it on various platforms. Streamline your product photography with our solutions today or contact us for a quote.
Articles you may also like
As e-commerce continues to evolve, the demand for high-quality product photography has escalated, particularly in industries ...
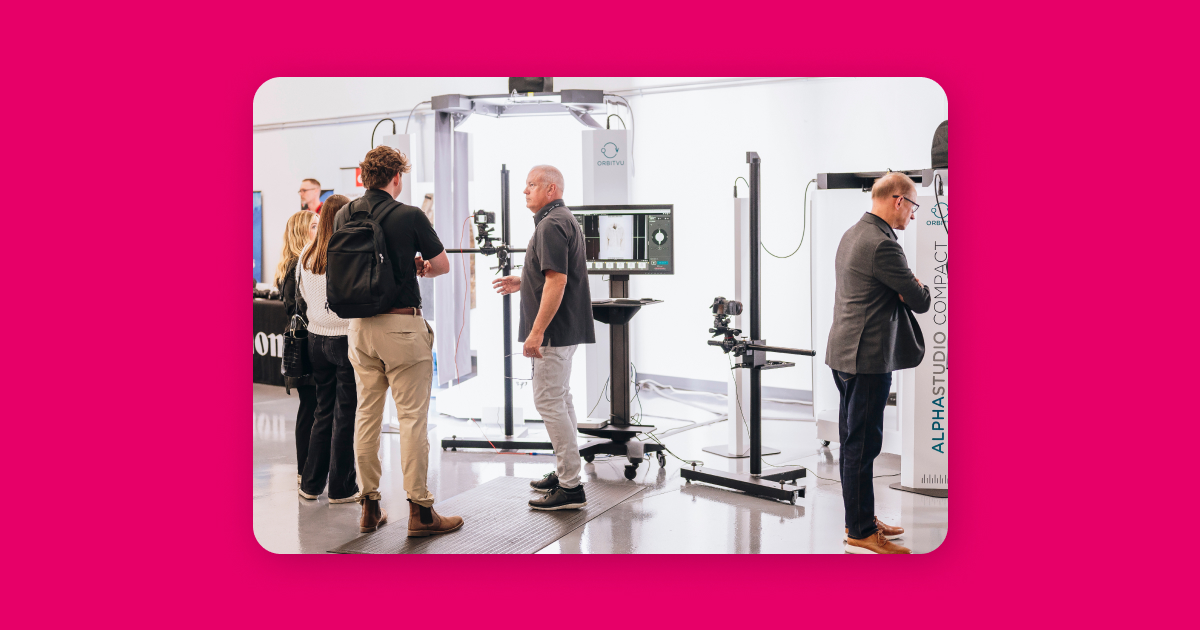
Brace yourself! Orbitvu is coming to FIN, this time in London! This latest series aims to provide insight into the latest e-c...
In an era dominated by digital commerce, the visual presentation of products plays a crucial role in captivating consumers an...


